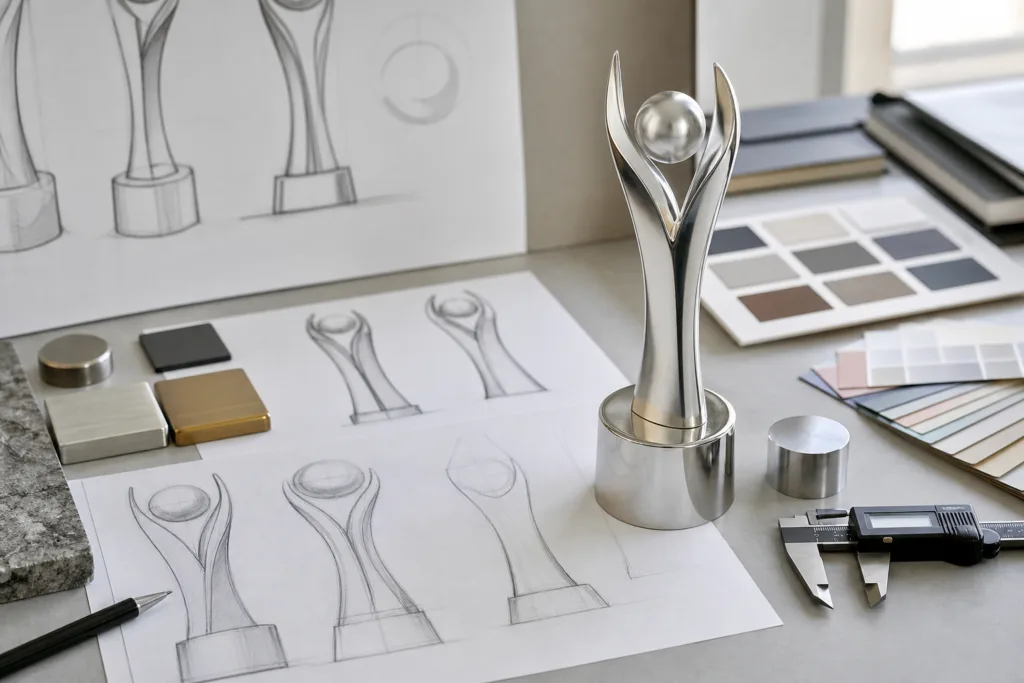
In custom award manufacturing, the key question is not simply which sample to request, but which decision that sample must unlock. A concept mockup, a bridge sample, and a tooling-based part each answer different questions about risk, appearance, manufacturability, and release readiness. For buyers comparing a trophy prototype vs production mold route, the right choice depends on whether the project needs to confirm shape, logo visibility, assembly fit, finish expectations, packaging interaction, or repeatability before authorizing mold development. Me Trophy can be positioned as a manufacturing partner that supports staged validation, sampling, and production planning, but project-specific tooling routes, processes, and commercial terms must be confirmed for the program.
A useful rule for procurement teams is this: do not pay for production-level evidence when the project still has unresolved design questions, but do not approve tooling or bulk release based on a sample that only proves visual intent. The sample method should match the risk being reduced.
List the Decisions the Sample Must Validate
Before selecting a validation route, define exactly what the sample needs to prove. Many delays happen because a buyer asks for “a sample” without clarifying whether the approval is about appearance, fit, finish, structure, or process readiness.
Common validation targets
- Visual appearance: silhouette, style language, front-view impact, and brand alignment.
- Dimensions: overall size, relative proportions, and display footprint.
- Logo readability: fine text, embossed or recessed branding, and edge clarity.
- Part interfaces: how separate metal or decorative components meet.
- Base-to-top assembly: stability, balance, fastening method, and alignment.
- Perceived weight: whether the award feels substantial enough for the event or brand positioning.
- Surface detail: crest sharpness, relief depth, sculpted features, and decorative transitions.
- Finish expectations: plating tone, painted area boundaries, contrast, gloss, or matte appearance.
- Packaging fit: cavity fit, protection points, and presentation sequence.
- Production consistency: whether future parts are likely to repeat the approved result with acceptable variation.
These targets are not equal. A 3D printed model may prove that the trophy shape looks right on a screen-to-physical transition, but it does not automatically prove that die-cast metal will fill the same way, polish the same way, or accept the same finish result. That is the difference between validating design intent and validating manufacturability.
Design intent asks, “Is this the right product?” Manufacturability asks, “Can this product be made repeatedly with the intended process?” A visual sample can approve form. A production-tool sample is far more relevant when buyers need confidence in casting behavior, finishing compatibility, assembly repeatability, and inspection planning.
Practical buyer checklist
- What specific decision will this sample unlock?
- If we stop at this sample stage, what risk remains open?
- Does the sample need to support internal approval, customer approval, or both?
- Which stakeholders must sign off: design, sourcing, brand, engineering, event owner, or distributor?
- Does the chosen route need to reflect the final process, or only the intended appearance?
- Are artwork, dimensions, and structure still likely to change?
This front-end clarity makes the later choice between a custom trophy design mockup, soft tooling trophy route, or production mold trophy sample much more disciplined.
Visual Models and 3D-Printed Prototypes
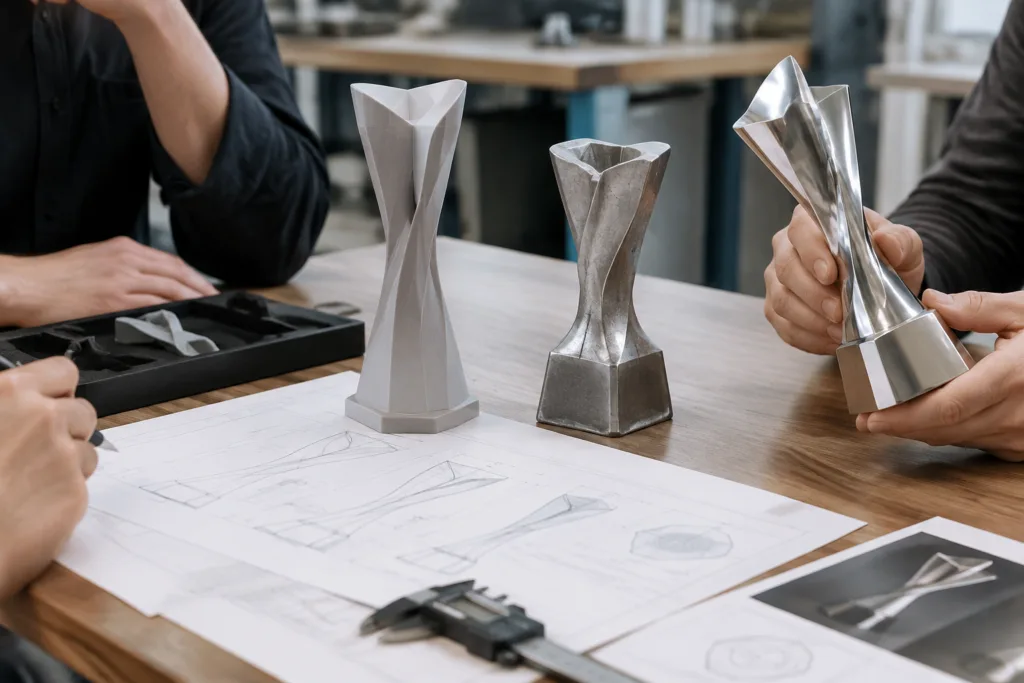
A 3D printed trophy prototype or similar visual model is often the fastest route when the project is still resolving concept questions. It is most useful early, when the buyer wants to see the trophy in physical form rather than only in drawings or renderings.
When this route makes sense
- Early concept review and silhouette approval.
- Checking overall scale against a brief or existing product line.
- Testing logo placement and visual hierarchy.
- Comparing several design options before choosing one.
- Presentation sign-off for a customer, brand team, or event committee.
- Basic multi-part mock assembly to understand construction logic.
For procurement, the advantage is obvious: this route can reduce design churn before spending on hard tooling. It helps buyers eliminate avoidable changes in size, proportion, and branding location while flexibility is still high.
What a visual prototype can prove
- Overall geometry and proportions.
- General look and feel.
- How the design reads from key viewing angles.
- Basic hand-feel and handling.
- Approximate assembly concept if several parts are included.
- Early packaging interaction if only broad fit needs to be checked.
What it usually cannot prove
- Final metal surface texture.
- Die-cast detail behavior and edge condition.
- Electroplating appearance on production-intent metal.
- Paint masking performance and line cleanliness.
- Mass-production fit consistency.
- Production-driven cosmetic variation.
- Reliable evidence of process capability or repeatability.
This limitation matters because additive methods and visual models are not perfect stand-ins for cast and finished metal parts. NIST notes that additive manufacturing introduces specification challenges around dimensional accuracy, geometry, and surface finish, which is why a printed sample is useful for form review but should be treated carefully as a predictor of final production appearance or tolerance behavior: https://www.nist.gov/publications/tolerance-specification-and-related-issues-additively-manufactured-products.
For sourcing teams, the main guidance is simple: use a visual prototype as a design-validation method, not as proof that the production route is ready. If the project still needs evidence about casting feasibility, finish response, or assembly repeatability, another stage is still required. Buyers working through early sample production should document that distinction clearly in approvals.
Soft Tooling and Bridge Methods
A soft tooling trophy route sits between a visual mockup and full production tooling. In practical buyer terms, this can mean interim tooling, simplified tooling, a temporary process route, or a pilot-style method intended to approximate production without fully committing to final mold investment.
Bridge methods are useful when a simple model is no longer enough, but the project still expects revisions. This middle route can give buyers more evidence on fit, finish, or assembly while preserving some change flexibility.
Where soft tooling fits best
- Complex assemblies with several joined parts.
- Projects where finish appearance needs review on a more production-like substrate.
- Pre-launch presentation samples for brand owners or event organizers.
- Programs with unresolved details that make immediate production tooling premature.
- Situations where packaging trials or handling tests are needed before final tooling approval.
What soft tooling may help validate
- Part-to-part fit and alignment logic.
- Assembly sequence and fastening practicality.
- Selected finish trials such as plating or paint directionally, depending on the route used.
- Early packaging checks.
- Some process learning before full tooling release.
That said, buyers should not over-read the evidence. A bridge sample may be more informative than a visual model, but it still may not fully represent final production conditions.
Key limitations buyers should recognize
- It may not represent final production mold life.
- It may not predict full repeatability across volume.
- It may not reveal actual scale defect behavior.
- It may not match every cosmetic outcome of the final process.
- It may validate selected risks while leaving others open.
For this reason, procurement teams should ask precise questions:
- What exact process is being used for the bridge sample?
- How closely does it reflect the intended production route?
- Which surfaces and features are representative, and which are not?
- What open risks remain after approving this stage?
- Will any major geometry or tooling strategy change before production?
If the project involves cast metal components, this conversation should be tied to the intended metal casting capabilities route rather than treated as a generic sample exercise. The more the buyer understands the gap between bridge validation and true production evidence, the more realistic the approval decision becomes.
Production-Tool Samples and Their Evidence
A production mold trophy sample is the point where validation shifts from “Does the design look right?” to “Can this product be manufactured in the intended way with acceptable consistency?” Once artwork, structure, dimensions, and commercial intent are stable enough, production-tool samples provide the strongest practical evidence available before scale-up.
What this route can prove better than earlier stages
- Tooling-based geometry from the intended mold path.
- Casting feasibility on production-intent parts.
- Assembly repeatability with production-relevant interfaces.
- Finishing compatibility on realistic substrates and feature edges.
- A more reliable basis for inspection planning.
- More meaningful packaging confirmation for shipment readiness.
This is the stage where buyers usually start evaluating the sample not just as an object, but as a manufacturing outcome. If one decorative recess is hard to plate consistently, if one painted zone is difficult to mask cleanly, or if one fastening point creates alignment variability, those issues are far more visible on production-intent parts than on concept models.
NADCA’s standards resources are useful context here because production tooling decisions in die casting are tied to repeatability, tolerances, tooling practice, and quality assurance considerations, not only to whether a single sample appears acceptable: https://www.diecasting.org/standards/.
Still, buyers should avoid assuming that a production-tool sample removes all risk automatically. It does not. Finishing standards still need approval. Inspection criteria still need definition. Assembly requirements still need to be documented. Packaging and shipment protection still need review. If Me Trophy supports mold development, staged approvals, or process planning for a program, the exact practices, review checkpoints, and deliverables must be confirmed for that project.
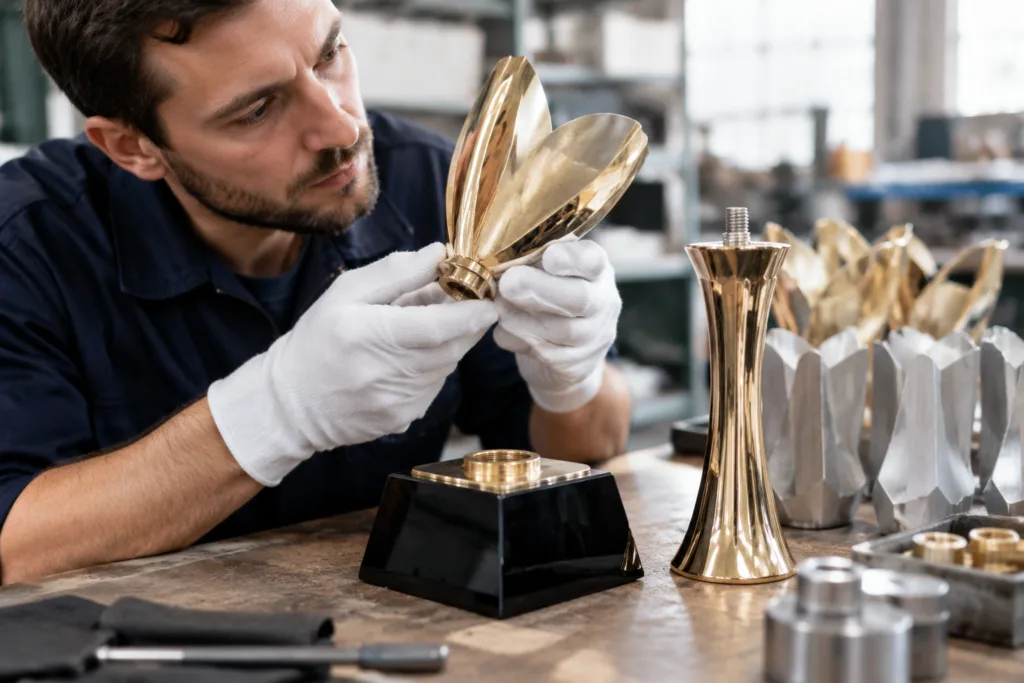
A useful next step at this stage is to align sample approval with documented quality control criteria. That means confirming what “approved” actually means for visual finish, dimensional acceptance, assembly condition, branding readability, and packaging protection.
Compare Cost, Speed, Fidelity, and Change Flexibility
The most practical way to compare a custom trophy prototype method is to assess trade-offs rather than hunt for universal numbers. Relative commitment and evidence quality are more useful than unverified lead time or cost claims.
| Route | Speed to sample | Upfront tooling commitment | Fidelity to final process | Suitability for finish review | Usefulness for assembly validation | Usefulness for packaging trial | Ability to absorb design changes | Value for repeatability assessment |
|---|---|---|---|---|---|---|---|---|
| Visual prototype | High | Low | Low | Low | Low to medium | Medium | High | Low |
| 3D printed trophy prototype | High | Low | Low | Low | Medium | Medium | High | Low |
| Soft tooling trophy | Medium | Medium | Medium | Medium | Medium to high | Medium to high | Medium | Medium to low |
| Bridge method | Medium | Medium | Medium | Medium | Medium | Medium | Medium | Low to medium |
| Production mold trophy sample | Lower | High | High | High | High | High | Low | High |
The key trade-off is consistent across industries: the faster and more flexible the method, the less it usually proves about full-scale manufacturing consistency. That is the central logic behind trophy tooling validation.
If your current debate is whether to keep refining a visual model or move into tooling, review a structured die-cast trophy sample review mindset: what changed between raw part review and finished approval, and which questions only became visible once the process became more production-like?
Build a Stage-Gated Validation Plan
For most international B2B buyers, the lowest-risk path is not choosing one method forever, but building a staged plan where each step proves the next critical decision.
Stage 1: Visual approval
Use a concept model or 3D printed trophy prototype to confirm silhouette, scale, artwork placement, stakeholder acceptance, and basic assembly concept. This is the right stage when appearance is still moving.
Stage 2: Bridge or soft-tool learning
Use a soft tooling trophy or bridge route when the design is mostly set, but the project still needs fit, finish direction, packaging interaction, or assembly evidence before approving full production tooling.
Stage 3: Production-tool validation
Move to a production mold trophy sample when artwork, structure, dimensions, and approval standards are stable enough that mold development becomes technically and commercially justified. This stage should validate manufacturing readiness, not only aesthetics.
Stage 4: Final pre-production confirmation
Before bulk release, confirm the approved sample standard, packaging condition, shipment protection logic, and any final documentation needed for order release. Procurement should ensure that what was approved visually is also aligned with production, inspection, and packing expectations.
Simple decision tree for buyers
- If your main concern is appearance only: start with a visual model or 3D printed trophy prototype.
- If your main concern is assembly risk: consider a bridge or soft-tool route that reflects actual interfaces.
- If your main concern is finish sensitivity: use a route closer to the intended substrate and finishing process.
- If your main concern is repeatability before bulk order release: use production-tool samples.
One useful manufacturing principle comes from PPAP-style thinking: approving one attractive part is not the same as proving the process can repeatedly meet requirements under production conditions. AIAG’s PPAP reference is from a different sector, but the logic is relevant to any stage-gated manufacturing approval system: https://www.aiag.org/training-and-resources/manuals/details/PPAP-4.
As the project transitions from prototype work into tooling, buyers should align approvals to documented criteria. At minimum, define:
- Approved artwork version.
- Material and process route, which must be confirmed for the project.
- Finish sample reference or visual standard.
- Assembly standard and orientation requirements.
- Packaging standard.
- Shipment review criteria.
This is also where it is appropriate to revisit mold development in a commercial and technical sense. If the design is still changing weekly, tooling may be premature. If the drawing package, appearance target, and approval criteria are stable, production tooling becomes a more rational investment. Me Trophy can support this transition as a project partner in sampling and production planning, but exact process routes and project terms require confirmation.
Conclusion
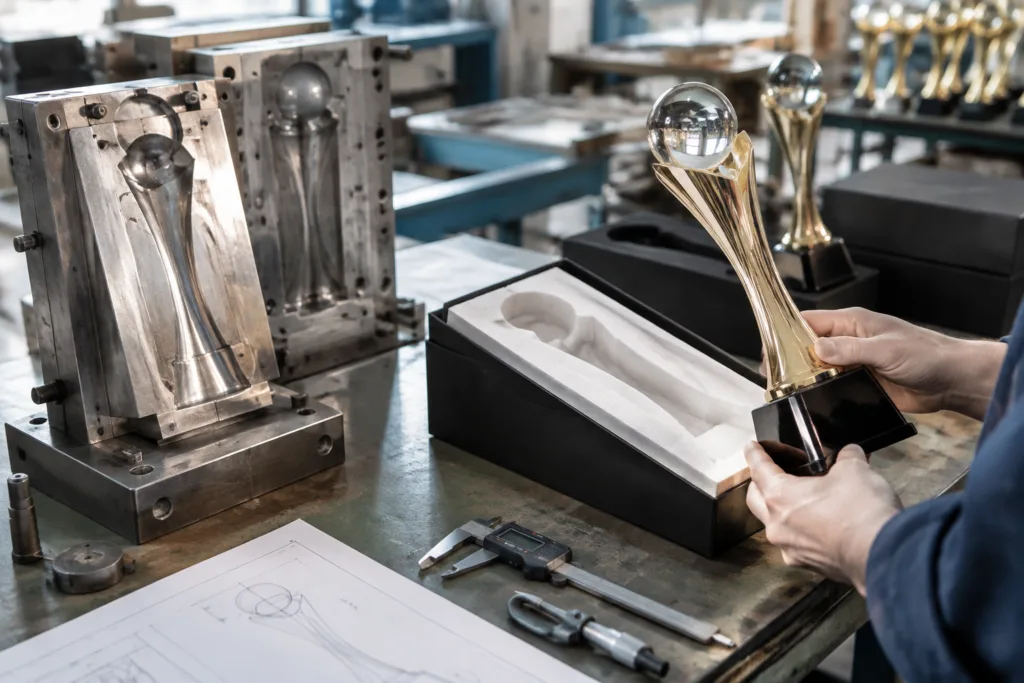
The best validation route is the one that proves the next critical decision without buying unnecessary certainty too early. A visual model helps answer whether the trophy concept is right. A soft tooling trophy or bridge route helps reduce risk when fit, finish, or assembly questions remain. A production mold trophy sample is the stronger choice when the project must validate manufacturing readiness and repeatability before volume release.
For buyers weighing trophy prototype vs production mold options, the most effective approach is usually staged: clarify the approval question, choose the evidence level that fits it, document what remains unproven, and only then advance to the next investment step. Me Trophy can be considered a custom manufacturing partner for prototype planning, mold development, sampling, and production preparation, with project-specific methods and commercial details to be confirmed.
FAQs
1. When is a 3D printed trophy prototype the right choice?
A 3D printed trophy prototype is usually best for early design validation, including shape, size, logo placement, and stakeholder presentation. It is less suitable for proving final metal finish, plating quality, or production repeatability.
2. What does a soft tooling trophy sample prove better than a visual prototype?
A soft tooling trophy sample may provide better evidence on part fit, assembly logic, finish direction, and packaging interaction. However, it may still not fully represent final production consistency or exact large-scale cosmetic outcomes.
3. When should a buyer move to a production mold trophy sample?
Buyers should move to a production mold trophy sample when artwork, structure, dimensions, and approval criteria are stable enough to justify tooling investment and when the project needs manufacturing-relevant evidence rather than only visual confirmation.
4. Can one approved sample guarantee mass-production quality?
No. One approved sample can support a decision, but it does not automatically guarantee full production consistency. Buyers should still confirm inspection standards, finish expectations, assembly requirements, and packaging protection before bulk release.
5. How should procurement teams choose between prototype, soft tooling, and production tooling?
Procurement teams should start by defining the decision the sample must unlock. If the need is visual approval, a prototype may be enough. If fit or finish risk remains, use a bridge method. If repeatability and production readiness must be proven, production-tool samples are the stronger route.